Documentation
PMS
- Version: 1.0
- Technologies:Asp.Net MVC
- Created: 27 June, 2022
- Update: 27 June, 2022
Project Management System
- Project Management System in ASP.NET MVC with MS SQL server.
- Simple And Easy to use Project Management System Similar to Basecamp for the project owner to assign and take progress of the task from remote workers.
- Project Management System is a designed to facilitate the planning, execution, and monitoring of projects within an organization.
- It serves as a centralized hub where project managers and team members can collaborate, communicate, and track progress towards project goals.
Features
- Project Planning: The system typically begins with project planning, where project managers outline project objectives, define tasks, allocate resources, and set timelines. This may involve creating project schedules, task lists, and assigning responsibilities to team members.
- Task Management: Once the project plan is in place, the system helps in managing individual tasks and activities. Team members can create, assign, prioritize, and track tasks, ensuring everyone knows what needs to be done and by when. Task dependencies and deadlines can also be managed to maintain project momentum.
- Collaboration and Communication: Project management systems provide tools for team collaboration and communication. This may include features like discussion forums, commenting on tasks/documents and shared documents. Effective communication ensures that everyone stays informed and aligned throughout the project lifecycle.
- Calendar Integration: Users can add and manage project-related events and milestones.Allow users to create events directly from within the project management system.The calendar should support different views like daily, weekly, and monthly.
- Progress Reports: The system generate progress reports for projects or tasks. Reports can include information such as completed tasks, upcoming deadlines, milestones achieved, and any issues or risks identified.
Getting started
Prerequisite:
- Visual Studio 2017 Community Edition (FREE)
- MS SQL Database
- .NetFramework 4.0
- MS IIS 7/8 or above
Import Database
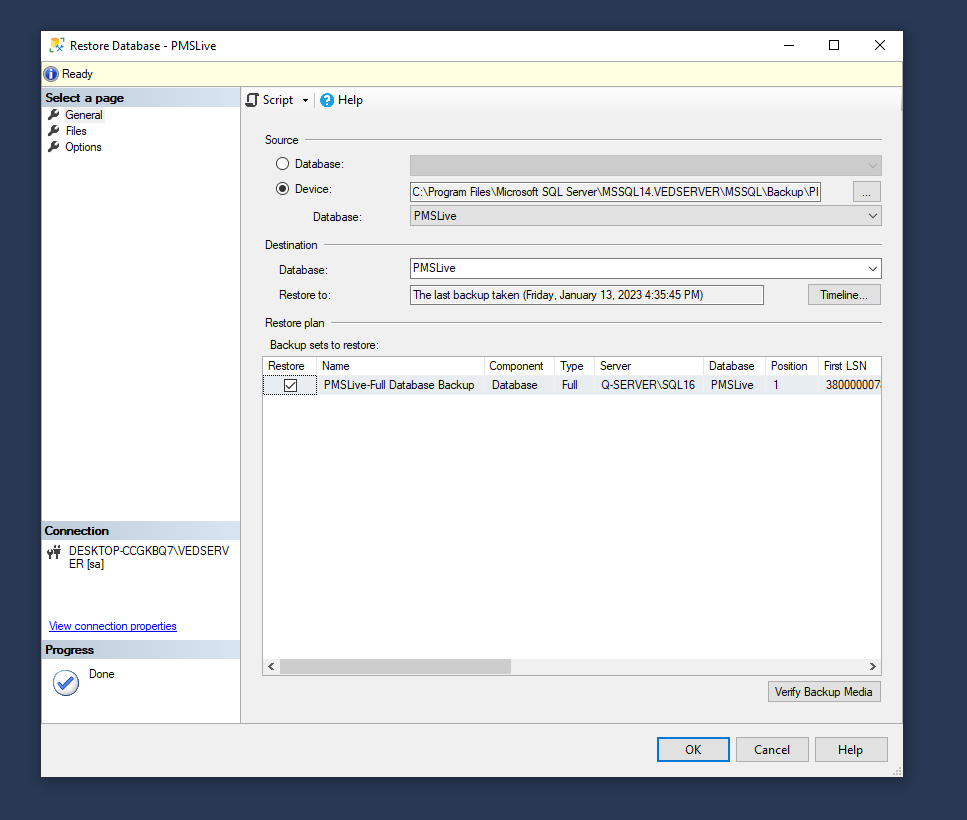
Import .bak file to a database in SQL server:
On SQL Server Management Studio 18 or higher version
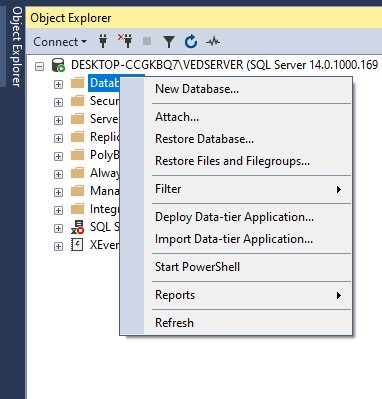
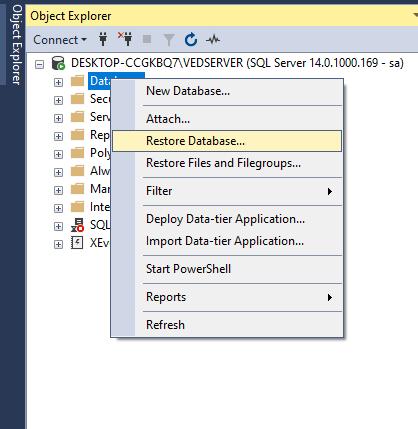
- Right-click the Databases node in Object Explorer
- Select Restore Database.......
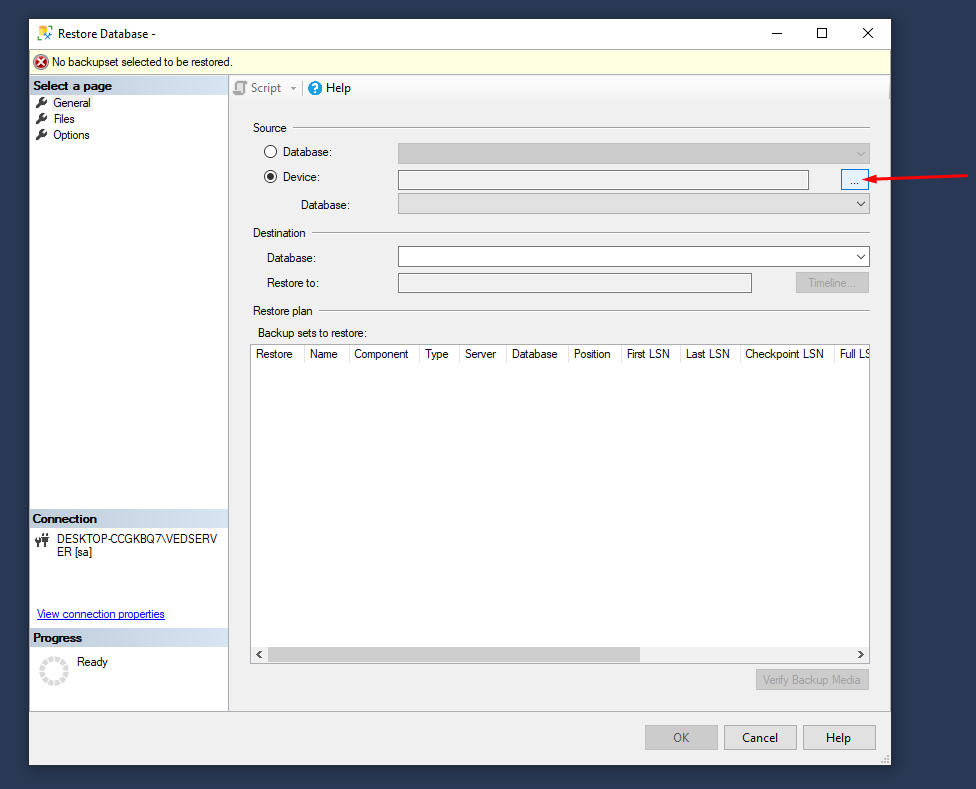
- Select Device:;and then select the ellipses ..., and to locate your backup file.
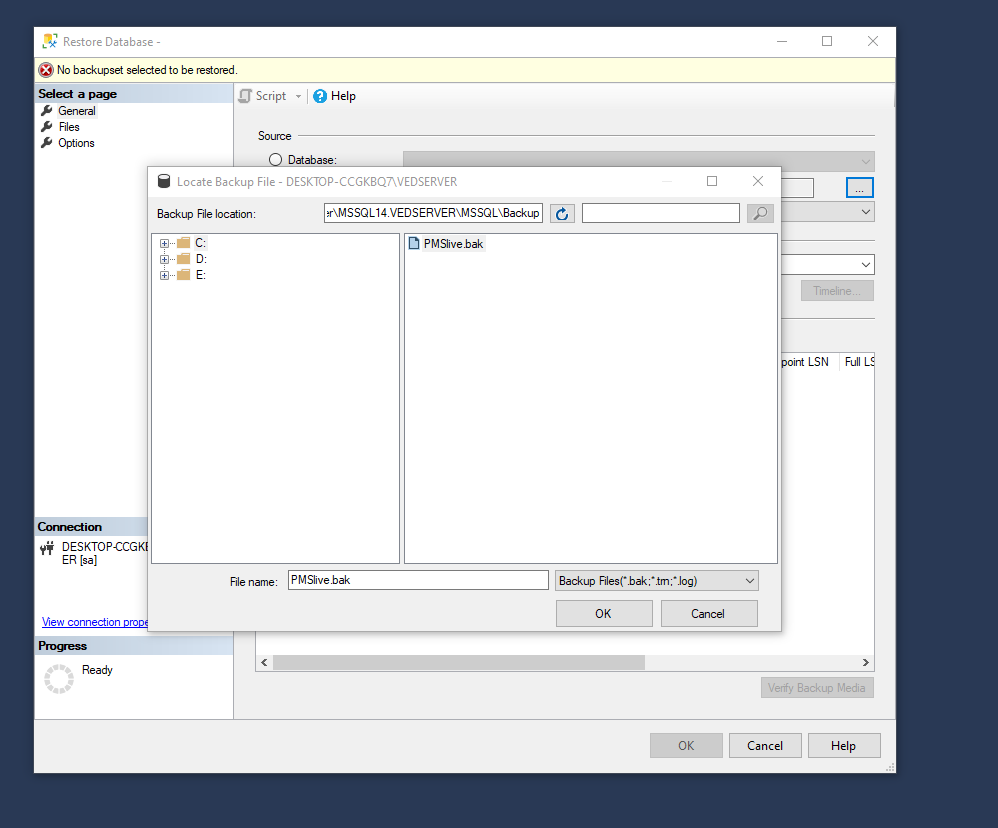
- Select Add and navigate to where your
.bakfile is located. Select the.bakfile and then select OK. - Select OK to close the Select backup devices dialog box.
- Select OK to restore the backup of your database.
- Done.

Running the Project in your local system
Follow the steps below to setup in your local system:
- Unzip Solution
- Open the project using Visual Studio 2017
- Change Connection string of database: Open Web.config file and change the following tag
- ConnectionStrings tag as below:
User ID: your usernamepassword: your passwordData source: your databaseCatalog: your database name- Run website for Admin Portal http://43.240.10.183:3391/Admin
User ID: admin@demosite.comPassword: Admin@12345- Run website for Member Portal http://43.240.10.183:3391
- Login with member account
Username: developer1@demosite.compass: Developer1@12345Username: developer2@demosite.compass: Developer2@12345Username: designer@demosite.compass: Designer@12345
Publish project on the IIS server
- Install IIS in your server machine
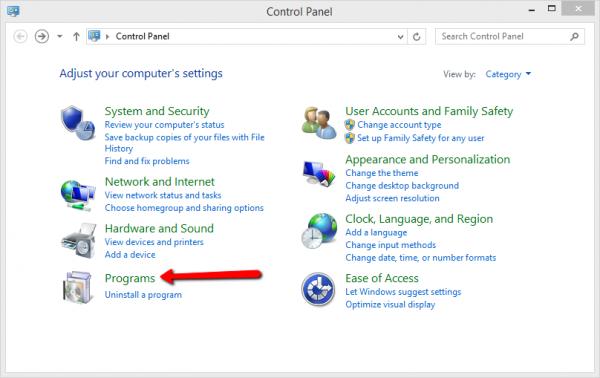
- Open control panel on your system.
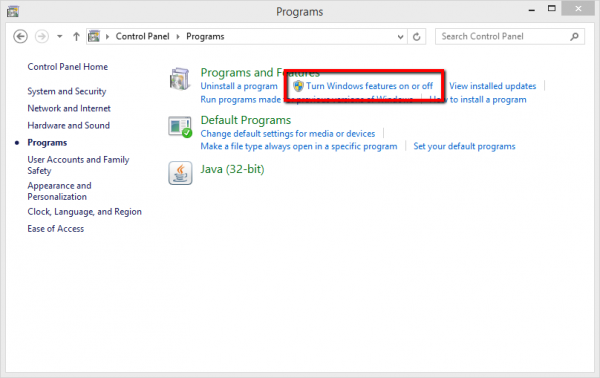
- Turn windows features on or off under the Programs and Features section.
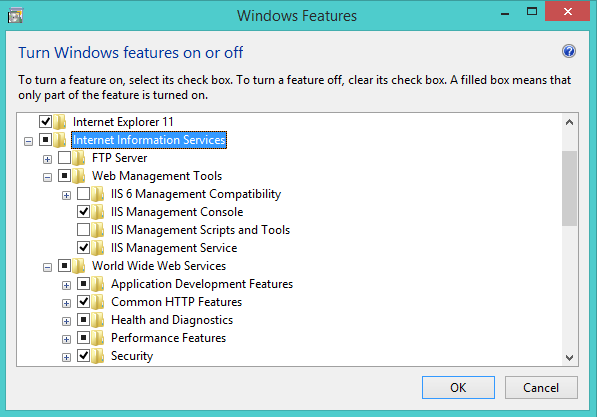
- You will get a list of Windows features. Expand the Internet Information Service option. Select all required features to add to your IIS server. Now click OK.
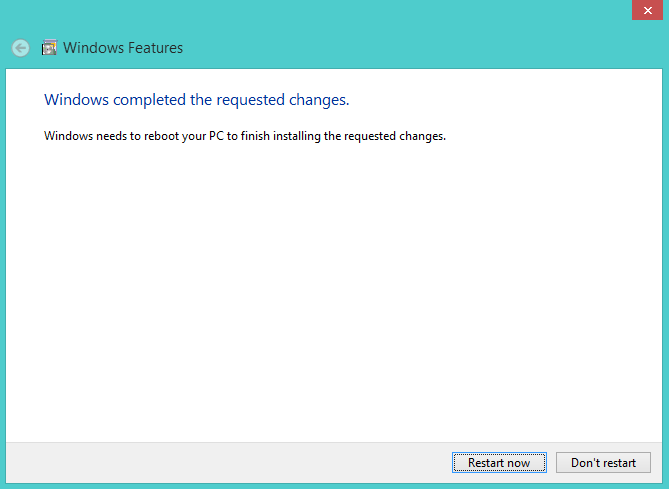
- The installation process begins now. It will take few minutes to complete. After completing the installation process reboot your system by clicking on Restart now button.
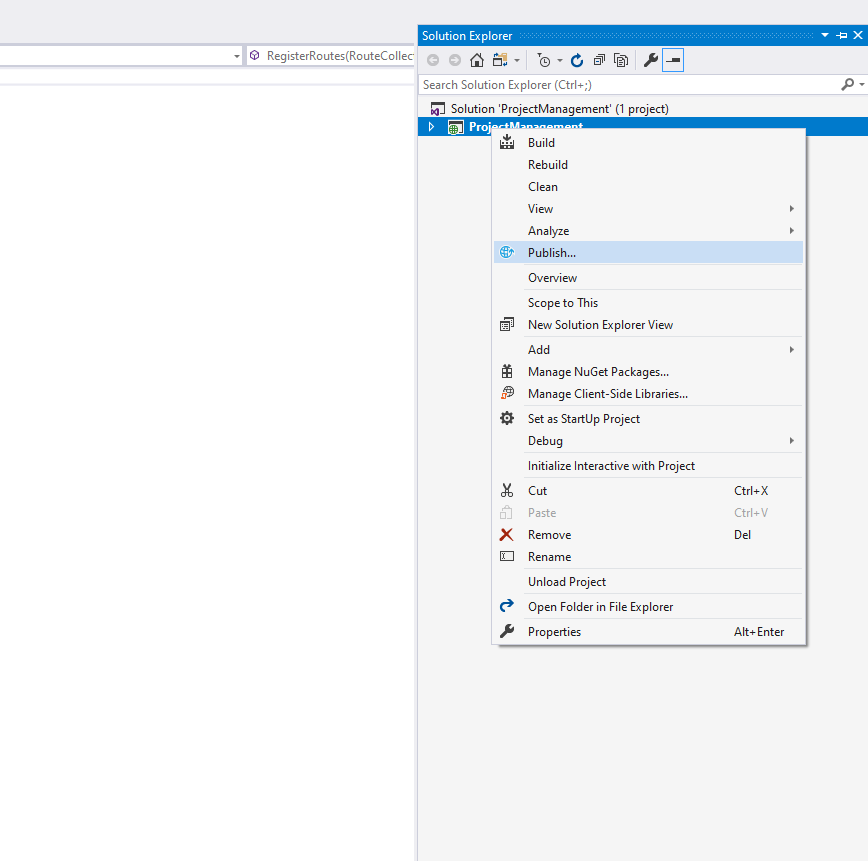
- Right-click on your application inside Visual Studio and then click Publish.
- Now, select the Folder option from the left menu and create the Directory in your system for Application Build
- Select your folder for application build and click on Publish.
- Open the IIS Server.
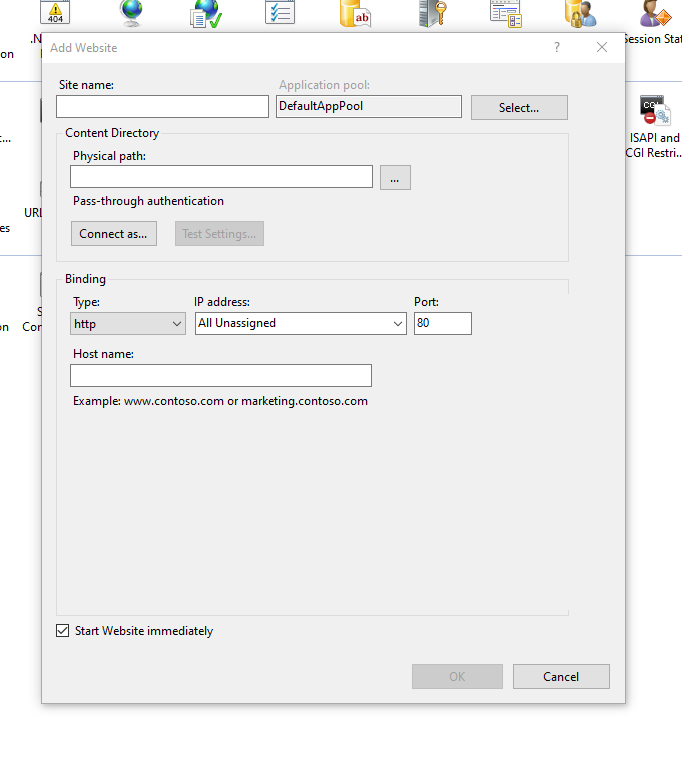
- Right click on the websites and add a new website.
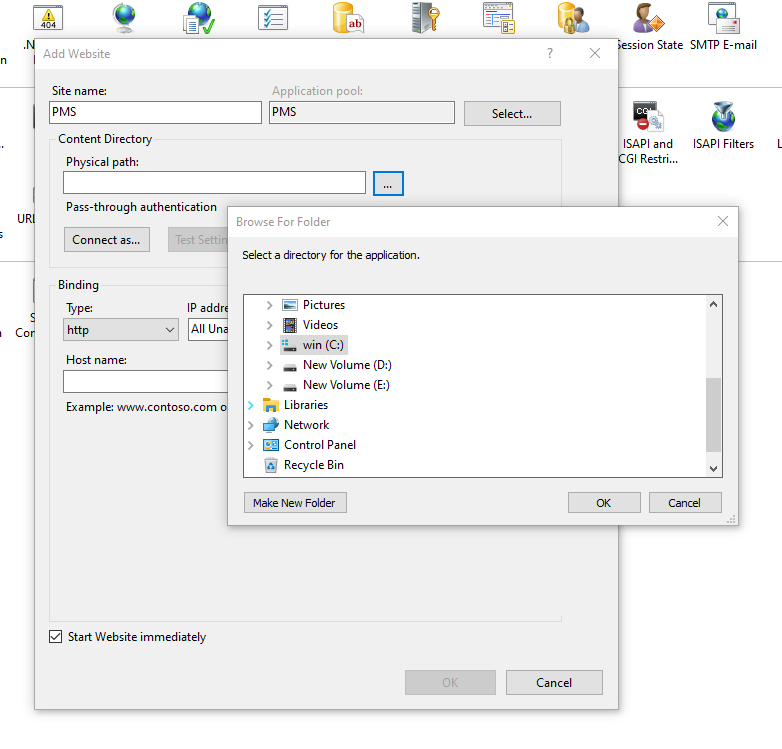
- Give the name of the website and add the physical path for your application where you stored the application build.
- Now click the OK button.
- Install dotnet.hosting bundle for Windows (with correct version)
- Run the app


Write us
If you have any query or problem you can write us any time on style="text-decoration: none; cursor: pointer;">dotnetexpert24@gmail.com
We will get back to you quickly.
created: 27 June,2022
latest update: 01 May,2024